


To show the Carina Nebula and how it’s photographed, start with an actual telescope observation: the James Webb Space Telescope’s Cosmic Cliffs image reveals a star-forming region called NGC 3324 near the northwestern edge of the wider Carina complex. Its golden ridges and blue starfield are a processed infrared view, rather than a normal daylight photograph or solid mountains in space.
The genuine Webb observation appears below, with its original credit and source. The article’s title cover and observing-setup picture are editorial illustrations. Keeping those roles separate matters: a beautiful artistic image can introduce astronomy, but the scientific explanation should rest on measured telescope data and documented processing.

Show the Carina Nebula and How It’s Photographed: Begin With the Real View
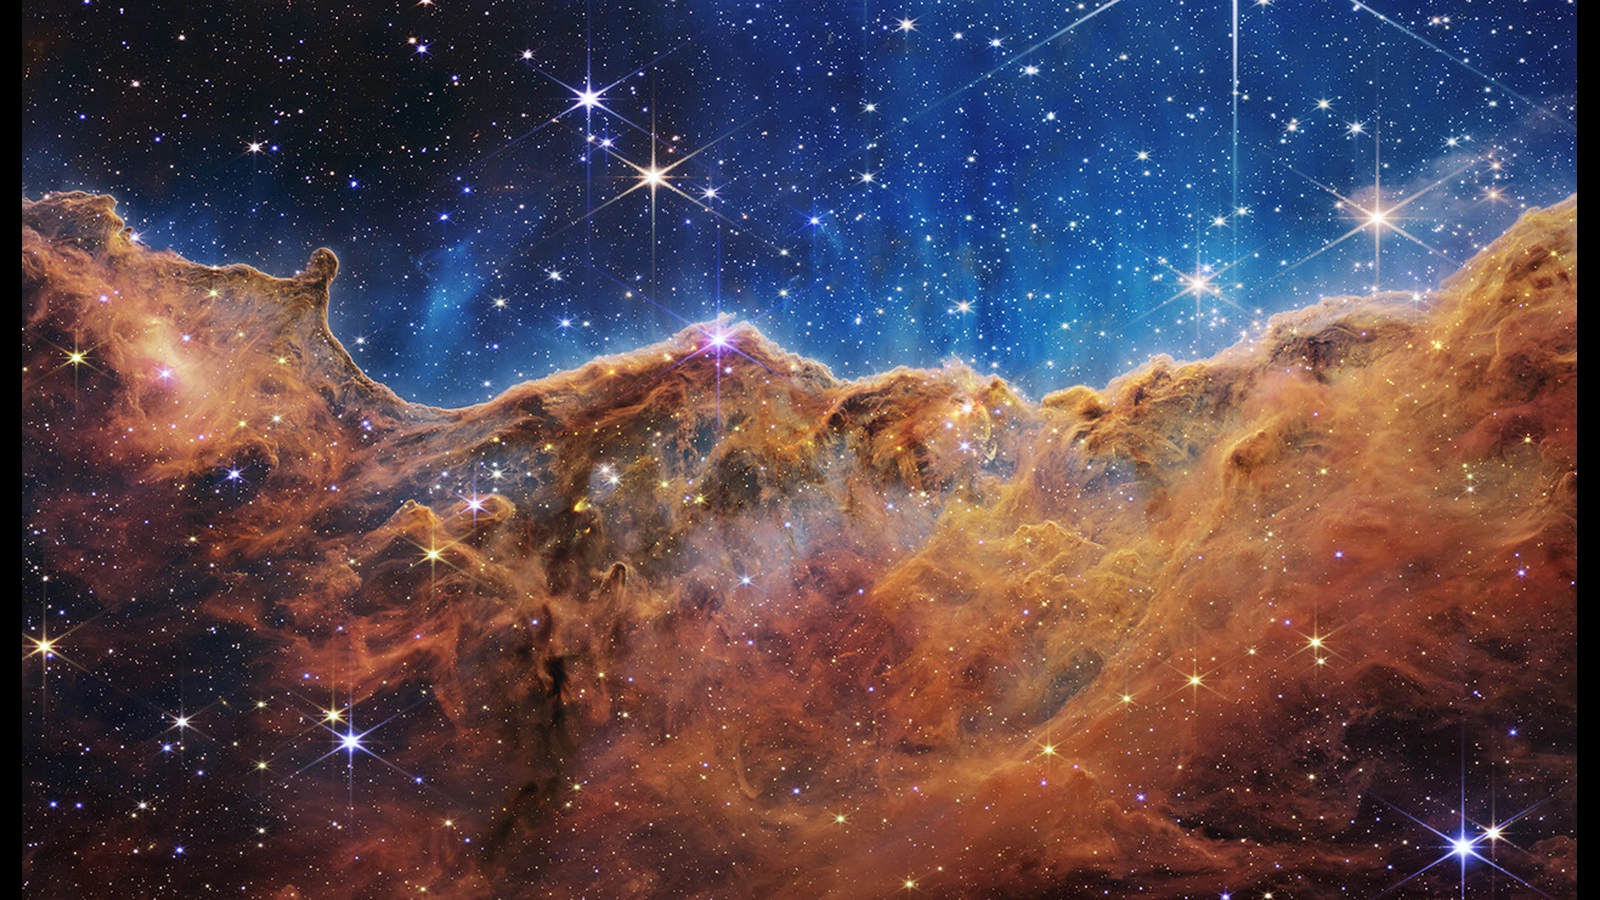
Image credit: NASA, ESA, CSA, STScI. This is the genuine Webb NIRCam Cosmic Cliffs observation, resized proportionally for display with narrow side margins. The source page provides the original download, filter information and observation details. It places the region approximately 7,600 light-years away.
The visible ridge marks the boundary of a gas-filled cavity. Radiation and winds from massive young stars shape the surrounding material. Bright areas, dark dust and point-like stars contribute different information, so the scene is best read as interacting gas, dust and stellar sources rather than a landscape with a surface an observer could stand on.
The Cosmic Cliffs Are a Detail, Not the Whole Nebula
Carina names a much larger astronomical region than the famous Webb frame. A wide panorama and a close view can therefore both be described as images of Carina while showing substantially different fields. Check the object designation and field of view before assuming that two pictures must contain the same structures at the same scale.
NASA’s Hubble Carina panorama provides a broader comparison. Released in 2007, it was assembled from 48 Advanced Camera for Surveys frames. That mosaic approach shows how a large astronomical portrait can be constructed from multiple telescope pointings instead of one camera exposure covering the entire region.
The older panorama and Webb’s closer infrared view serve different purposes. Comparing their colours without considering the instrument, wavelength and image boundaries can be confusing. First establish what each frame includes. Then examine what the selected observations reveal about stars and material within that particular part of the nebula.
What Webb’s Cameras Actually Record
Webb does not take a conventional red-green-blue snapshot of a scene visible to human eyes. Its cameras collect infrared measurements through selected filters. Each filter samples a particular wavelength range, allowing the final image to combine information that would not all be visible in an ordinary optical photograph.
NIRCam is the Near-Infrared Camera; MIRI is the Mid-Infrared Instrument. NASA’s combined NIRCam and MIRI view demonstrates why using different infrared ranges is useful. The instruments highlight different aspects of young stellar sources, warm dust and structures embedded within the material.
The important distinction is between looking at different information and making a more saturated version of one picture. Changing the wavelength range can reveal features that another observation does not show clearly. A comparison should therefore identify the cameras and filters rather than treating every version as the same photograph with a different editing preset.
From Exposures to a Finished Astronomy Image
The first stage is observation planning. Astronomers choose a target, field and suitable instrument configuration for the scientific question. A wide structural survey and a search for embedded young stars can require different choices. The resulting image is shaped by those decisions before any public-facing colour treatment begins.
The second stage is working with the recorded data. Multiple exposures must be prepared and aligned so that corresponding structures occupy the correct positions. Instrument effects and unwanted artefacts need appropriate treatment. The aim is to preserve measured information, rather than make every pixel look smooth or remove real detail because it seems visually untidy.
The third stage is combining the information into a readable presentation. ESA/Webb’s image-processing explanation describes how exposures and colour choices contribute to the full-colour views. Processing is part of communicating the observations, but its role should remain distinct from inventing new astronomical structures.
For readers, the practical question is whether the image has a documented origin. A scientific image should identify the observatory, target and processing context. An illustration should identify itself as an illustration. Those labels help distinguish an attractive representation of space from a record that can be traced to actual observations.
Are the Colours Real?
The data are real, but the displayed colours are assigned to make otherwise invisible information understandable. NASA’s full-colour image explainer describes the translation from individual filtered observations into visible colours. The finished result is not a claim that human eyes would see that exact palette from a nearby spacecraft window.
Assigned colour does not mean the picture is arbitrary. A documented mapping can preserve meaningful relationships between wavelength channels. Different choices can emphasise different structures, so the image description and colour key are important companions to the visual. They explain what the blue, orange or red portions represent in that particular release.
This is also why applying a dramatic phone filter is not equivalent to scientific processing. A filter changes appearance, while a documented astronomical composite explains how measured channels are represented. Both can alter colour, but only the latter supplies the observational context needed to interpret the result as scientific information.
Can the Carina Nebula Be Photographed From Earth?
Yes, ground-based observatories photograph Carina as well. ESO’s HAWK-I infrared image from the Very Large Telescope is an example. A ground observation and a Webb observation differ in instrument, wavelength access, observing conditions and achievable detail, so they should not be expected to produce interchangeable results.
For an amateur, location is the first practical question. Carina is a southern-sky target, and its suitability depends strongly on latitude and how high it rises above the horizon. Use a current planetarium tool for the actual observing site and date. A generic online equipment list cannot compensate for a target that remains below your local horizon.
Then consider sky conditions, framing and tracking. A wider lens or telescope can capture a broader field, while a longer focal length narrows the view and increases demands on the mount. Choose the part of the complex you want to photograph before selecting equipment or copying settings from someone else’s image.
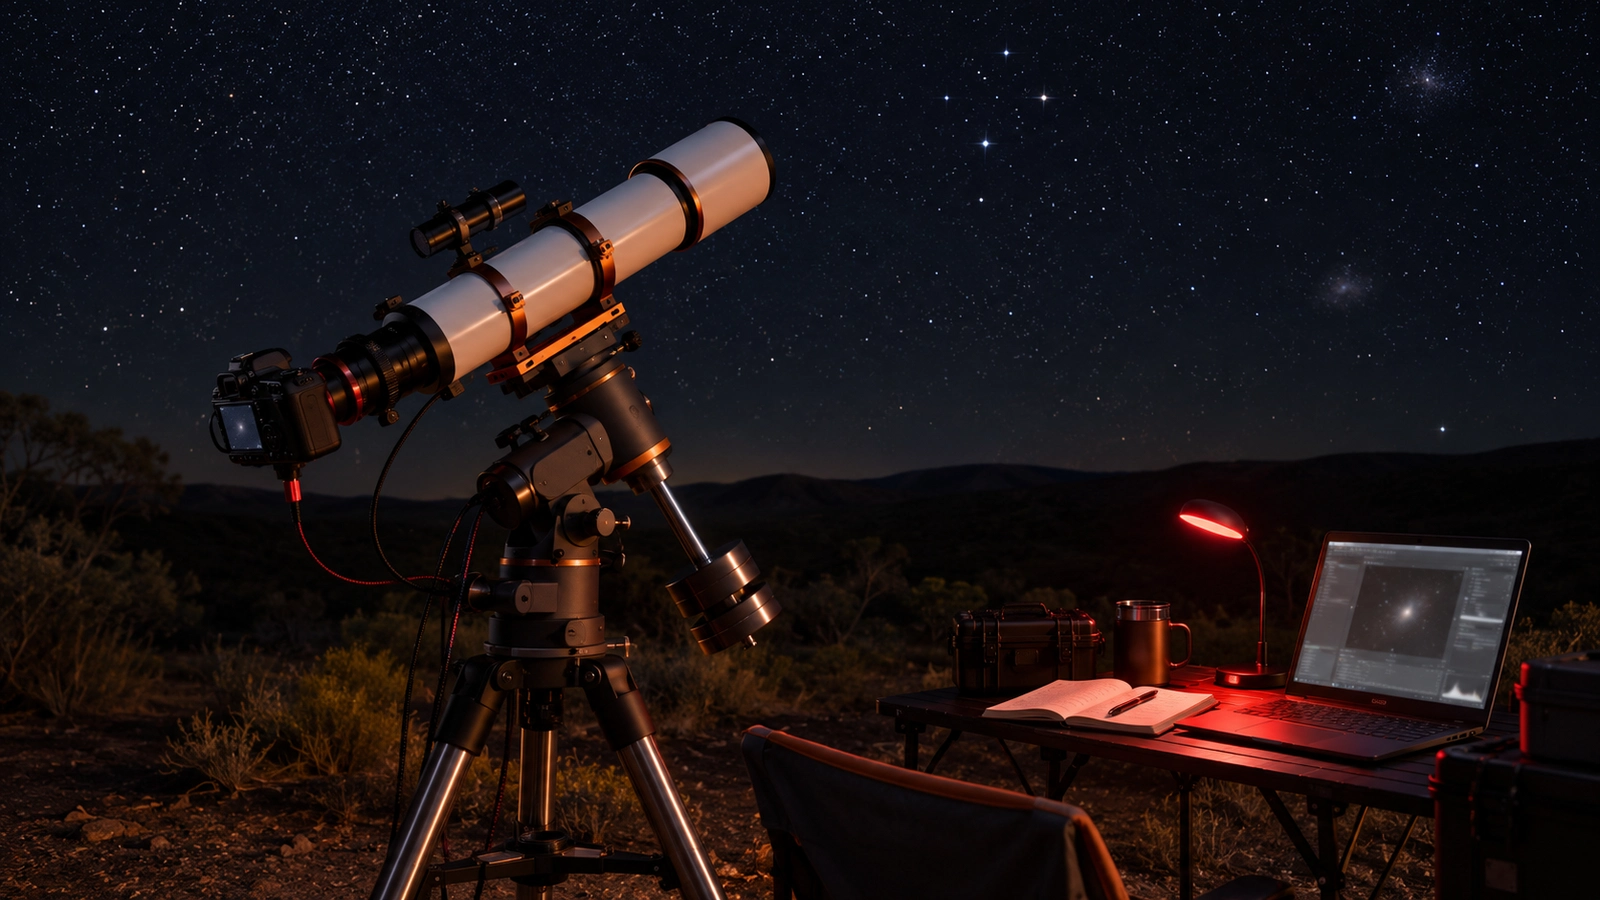
The observing-setup image is an AI-generated editorial illustration of ground-based astrophotography equipment, not a photograph of Webb or a claimed record of a particular observing session. It illustrates a camera attached to a telescope and a tracking mount, which serve a different purpose from a space observatory’s instruments.
A Sensible Beginner Workflow
Plan the target’s visibility and allow time for focusing, alignment and test exposures. Check the actual frames rather than assuming that a long exposure is automatically better. If stars trail, tracking or exposure length may need adjustment. If bright areas saturate, additional exposure can erase useful detail instead of revealing it.
Collect a series of suitable exposures and use an appropriate calibration and stacking workflow for the camera. Combining aligned frames can improve the usable signal, but it cannot recover information that was never recorded. Keep original data so processing choices can be revisited without repeatedly editing an already compressed export.
Finish conservatively. Preserve plausible star shapes, avoid crushing faint structures into black and do not mistake generated detail for improved measurement. OrbitNews’ AI video-upscaling explainer discusses a related distinction between added pixels and recorded information. Its image-size and resolution guide provides separate background on display dimensions, which should not be confused with a telescope’s observational resolution.
Frequently Asked Questions
What are the Cosmic Cliffs?
They are a sculpted boundary of gas and dust in NGC 3324, associated with the Carina star-forming region. The name describes the appearance of a telescope image. It does not mean the structures are solid mountains or a rocky planetary surface.
Is the Webb image an ordinary photograph?
It is a processed astronomical image based on infrared observations through multiple filters. The information comes from real telescope measurements, but visible colours are assigned so people can inspect information outside the normal range of human vision.
Why do Carina pictures look different?
They may show different fields, use different instruments or combine different wavelength channels. Check the object name, scale and filter description before comparing colours or structures. A wide panorama and a close detail need not include the same features.
Can a beginner reproduce Webb’s photograph?
A beginner can pursue ground-based Carina imaging from a suitable location, but should not expect a small terrestrial setup to duplicate Webb’s infrared data and resolution. Set a realistic framing goal and build technique around actual local conditions.
Where can I see the original scientific image?
Use the linked NASA Cosmic Cliffs source page for the genuine observation, credits and downloadable versions. It provides a traceable reference for the image shown here, separate from the editorial artwork used for the article’s cover and equipment illustration.
